
How to Prepare for Shutter Measurement: Complete Shutter Measuring Guide and Tips
Preparing for shutter measurement is crucial for ensuring a perfect fit and enhancing the overall aesthetic of your windows. Accurate measurement plays a significant role in the success of any window treatment, affecting not only the visual appeal but also the functional aspects of shutters. This comprehensive guide will take you through essential tools, checklists, preparation steps, common mistakes, and understanding different shutter types to enhance your measuring experience. Many individuals encounter challenges while measuring, leading to incorrect ordering and installation. By leveraging the insights outlined here, including the best practices and tools needed for efficient measuring, you can avoid common pitfalls.
In this article, we will cover the essential tools needed for accurate shutter measurement, the steps to include in your measurement checklist, how to prepare your environment effectively, mistakes to watch out for, different types of shutters and their measurement needs, and the next steps after completing your measurement.
What Are the Essential Tools Needed for Accurate Shutter Measurement?
An accurate shutter measurement starts with the right tools. Using appropriate measuring tools ensures that all dimensions are precise, ultimately contributing to a well-fitted shutter that functions as intended. The essential tools for this task include measuring tapes, laser measuring devices, and a good-quality notepad for documentation. Utilizing these tools not only improves measurement accuracy but also provides efficiency when measuring larger areas.
Here’s a closer look at some of the best tools for shutter measurement:
Which measuring tools are best for window shutter measurements?
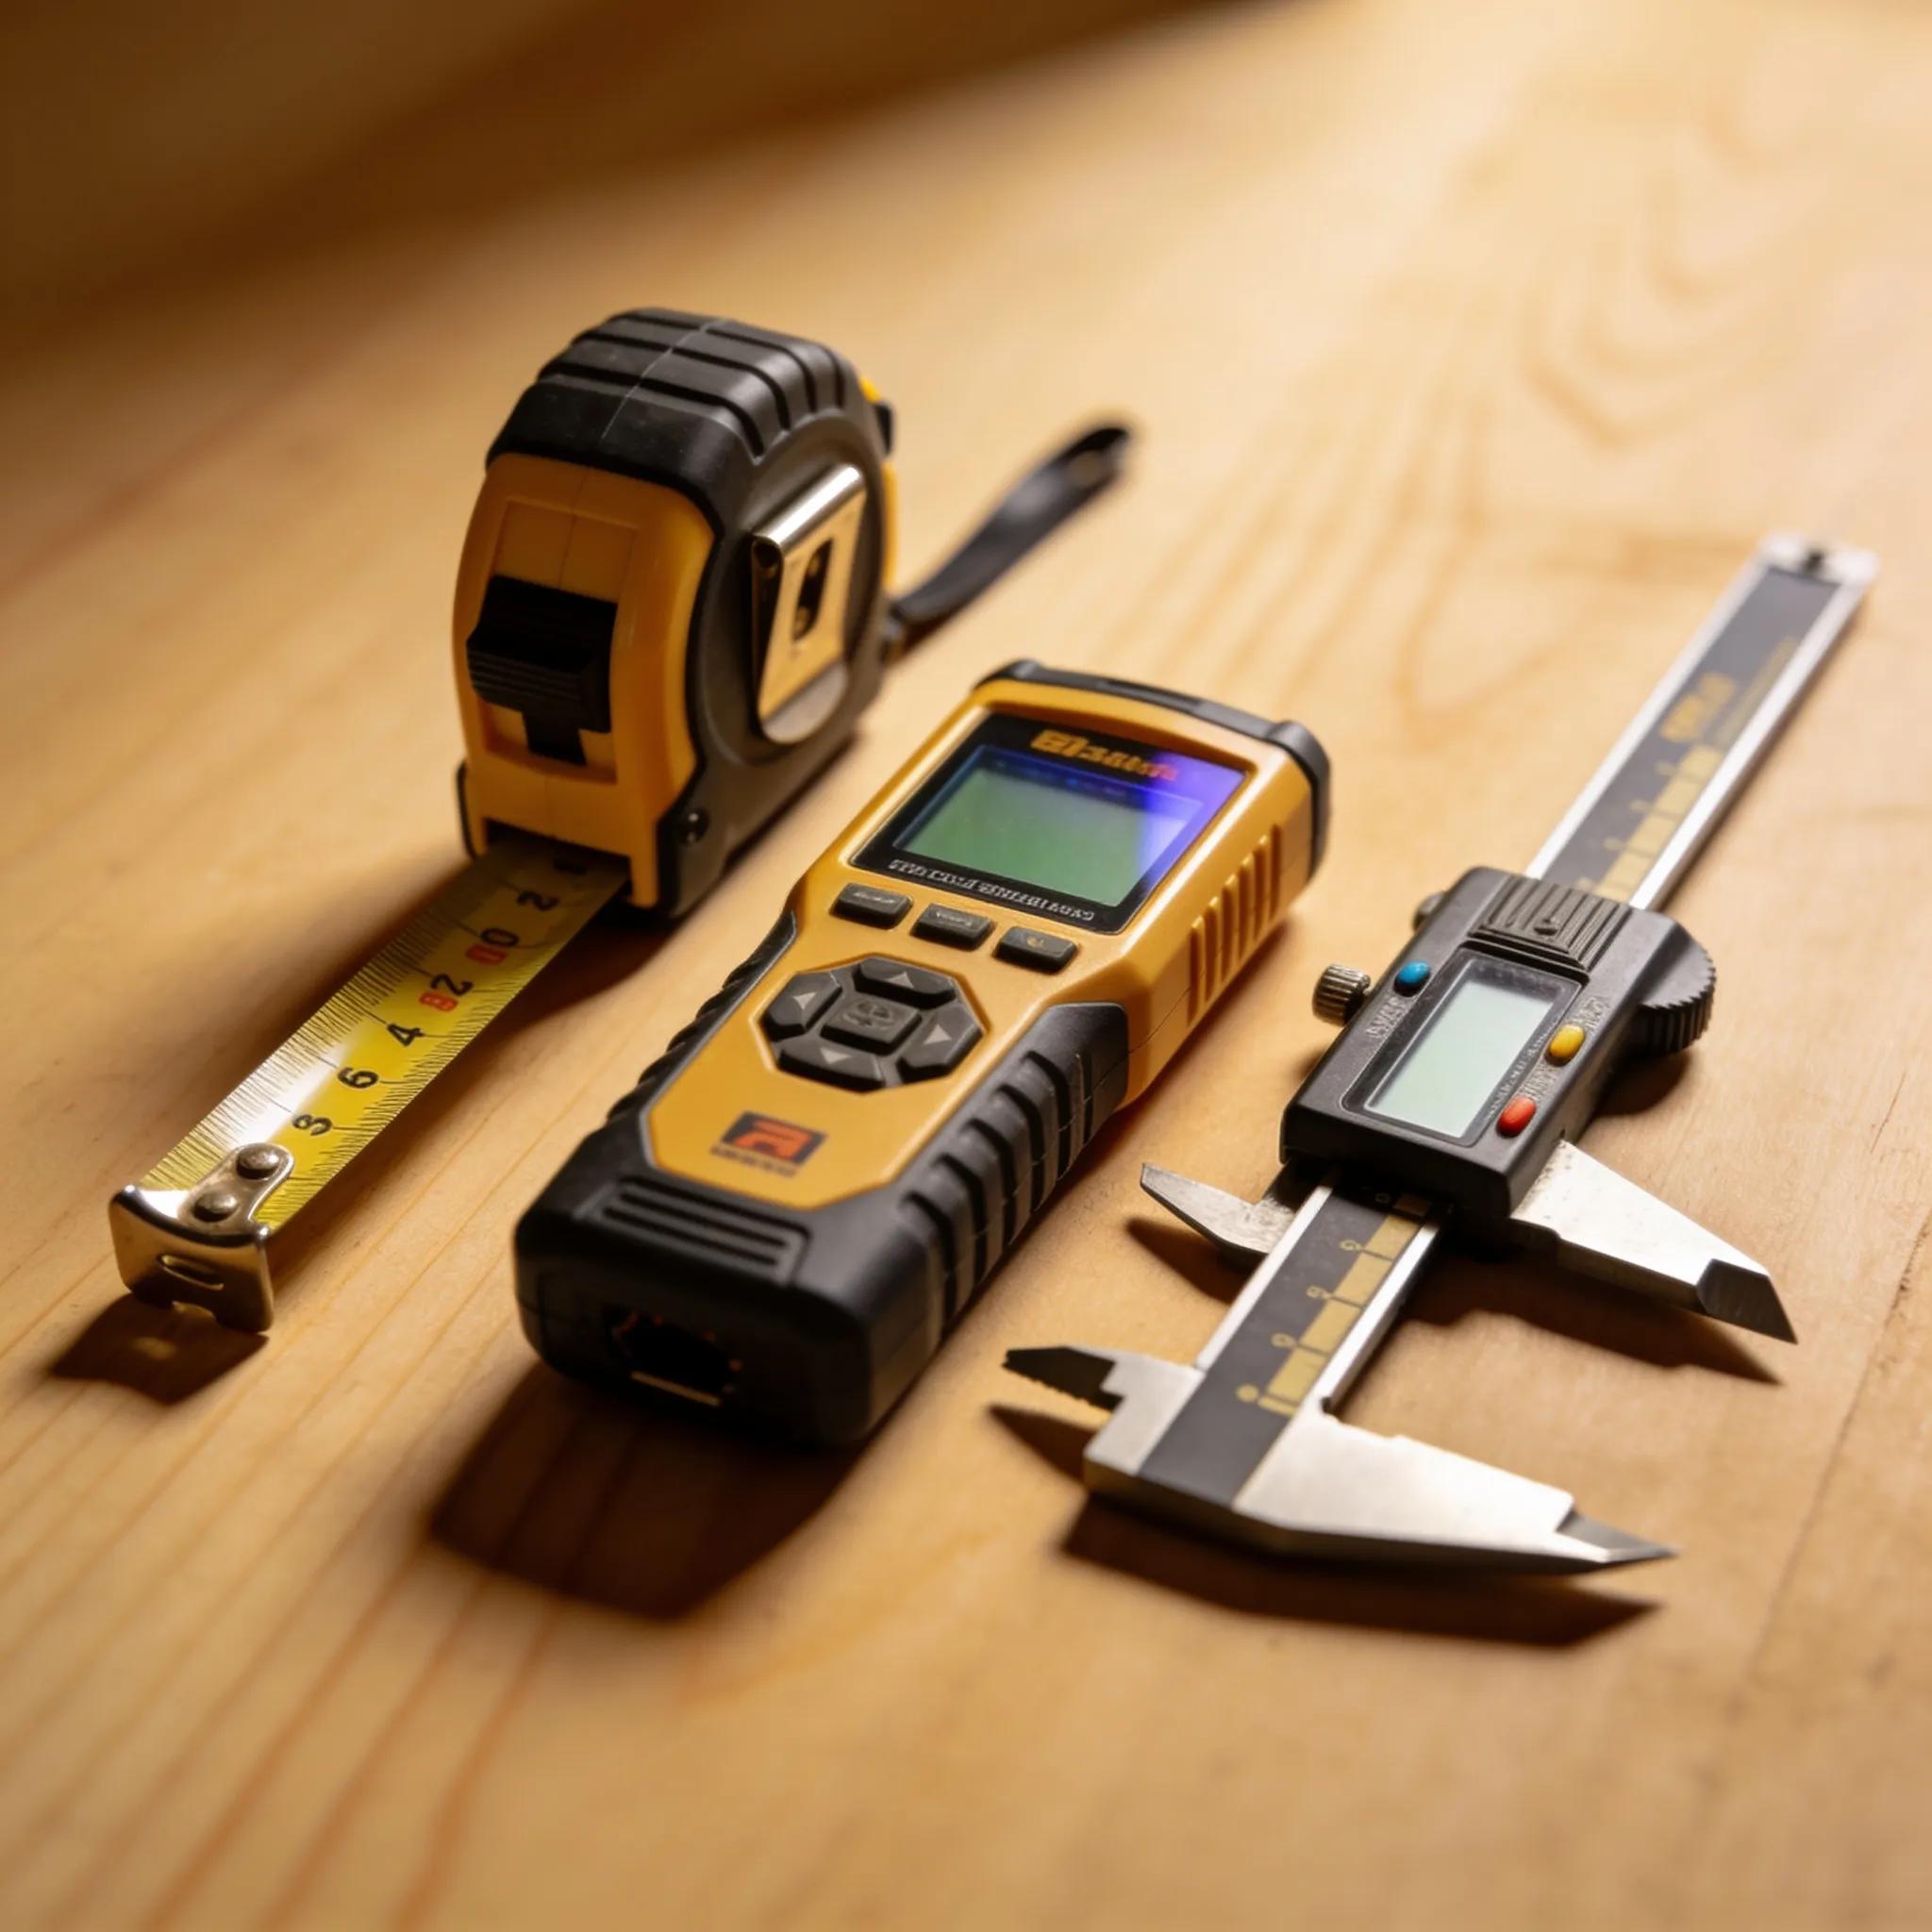
- Measuring Tape: Offers flexibility and ease of use for measuring width and height.
- Laser Measuring Tools: Provide precise distance measurements, especially beneficial for large windows.
- Digital Calipers: Excellent for measuring depth and ensuring exact specifications.
Utilizing these tools will enhance your precision and provide multiple options, especially when dealing with uniquely shaped windows.
How to use each tool properly during shutter measurement?
Proper usage of each tool is crucial for achieving accurate measurements. Here’s how to effectively use them:
- Measuring Tape: Ensure the tape is straight and taut; this reduces the chance of errors. Measure from the highest point down to the bottom and confirm measurements with a second check.
- Laser Measure: Position the device against a flat surface, ensuring a clear line of sight to the wall for accurate readings. Always double-check the distance before recording.
- Digital Calipers: Adjust the calipers to fit snugly around the edge then read the measurement on the digital display. This tool is vital for determining width accurately where space is limited.
Understanding the proper techniques enhances overall measurement accuracy and contributes to a smooth shutter fitting and installation process.
What Steps Should You Include in Your Shutter Measurement Checklist?
Having a comprehensive checklist is essential when preparing for shutter measurements. This ensures that you do not overlook critical aspects, leading to successful installation and visually appealing results. The checklist should contain specific measurement points and tips for effectively documenting the measurements to avoid errors.
Which measurement points must be recorded for shutter sizing?

Key measurement points include:
- Width: Measure in three places—top, middle, and bottom—to account for any irregularities.
- Height: Similarly, take measurements from different points to ensure overall accuracy.
- Depth: This measurement is crucial for fitting tightly against the window frame.
- Angles: Measure any slope or angle for casement windows, if applicable.
Recording these crucial dimensions aids in creating a precise fit that aligns perfectly with the window.
How to document measurements to avoid errors?
Effective documentation techniques are necessary for ensuring that recorded measurements are accurate and easily interpretable. Here are best practices to follow:
- Use a Standard Format: Document measurements in a tabulated format specifying width, height, and depth for each window to maintain clarity.
- Include Notes and Sketches: Highlight features such as window trims or casings impacting the fitting.
- Double-Check with a Partner: Having another person verify measurements can help prevent mistakes. A second opinion is vital in reducing errors.
By adhering to these documentation techniques, you can significantly lessen the chances of discrepancies in size during the ordering phase.
How Should You Prepare Your Room and Windows Before Measurement?
Creating an optimal environment for measurement is paramount. Clearing your space allows for better access and accuracy, reducing potential inaccuracies from obstructions. Proper preparation of the room and windows significantly impacts the measurement process and its outcomes.
What room clearance and furniture adjustments improve accuracy?
To enhance the measurement accuracy:
- Clear the Surrounding Area: Move furniture and decorations that might obstruct view or access to the windows.
- Dust Windows and Frames: A clean, dust-free surface allows for better measurement precision.
- Adjust for Accessibility: Ensure there’s enough room to maneuver the measuring tools without any restrictions.
Taking these steps set a conducive environment for accurate measurements.
How do indoor features affect shutter measurement and fitting?
Several indoor features can impact how shutters fit within a given space:
- Window Frame Conditions: Irregularities in the frame can lead to misfit shutters; well-prepared frames will facilitate easier fitting.
- Trim and Molding: They can either enhance or restrict space, and should be measured alongside the window dimensions for a snug fit.
- Architectural Features: Things like protruding windowsills or decorative moldings can challenge standard fitting techniques.
Understanding how these elements affect measurements help prepares the mind and tools for an accurate fitting process.
What Common Shutter Measurement Mistakes Should You Avoid?
Mistakes can happen during measurement, influencing the outcome significantly. Knowing these common errors can help you navigate the process more effectively. Identifying and avoiding potential pitfalls will save both time and resources.
How does incorrect measurement affect shutter size and fitting?
Incorrect measurements can lead to:
- Oversized Shutters: Resulting in gaps and ineffective insulation, impacting energy efficiency.
- Undersized Shutters: Leaving gaps that can disrupt aesthetics and function.
- Installation Issues: Misalignment can lead to difficulties during installation, potentially damaging the shutters or the window frame.
Understanding these consequences can motivate you to prioritize accuracy above all.
Which frequent errors can be prevented with proper preparation?
Several errors can be bypassed with adequate preparation:
- Neglecting to Measure Twice: Not double-checking measurements is a frequent source of error.
- Using Inappropriate Tools: Relying solely on measuring tapes without leveraging advanced tools when necessary can cause inaccuracies.
- Ignoring Environmental Influences: Failing to clear the space fully may allow for measurement disruption, leading to errors.
By being aware of these common mistakes and how to prevent them, you are one step closer to a successful shutter installation.
How to Understand Different Shutter Types and Their Measurement Needs?
Grasping the various shutter types is essential, as different styles may require unique measuring techniques. Being informed about the specific measurement prerequisites can minimize the risk of errors.
What measurement considerations apply to plantation and other shutter types?
Measurement for plantation shutters involves some specific considerations. Plantation shutters typically require detailed height and width measurements, as they are designed to fit the window frame closely. Additionally, accommodating for the slats’ tilt and overlap is crucial for proper operation and aesthetics.
How do shutter styles influence window recess measurement techniques?
Each shutter style can require slightly varied measurement strategies:
- For sliding shutters, you may need to consider a wider frame allowance to ensure smooth operation.
- Folding shutters typically require less depth due to their construction and should be measured in terms of how they fold back into the recess.
- Different decorative edges or corners may call for particular attention to measurement accuracy regarding angles and dimensions.
Recognizing how shutter styles influence measurements leads to better preparation for installation.
What Are the Next Steps After Completing Your Shutter Measurement?
Once you have completed your shutter measurement, it’s essential to verify results and understand the subsequent steps before placing an order. This ensures that you are aligned with the necessary details and confirms the process is on track.
How to review and verify your shutter measurements before ordering?
To ensure accuracy:
- Cross-Check Measurements: Review all recorded dimensions against a checklist to ensure everything has been documented.
- Confirm Conditions on-Site: Make sure the conditions within the room align with your recorded notes.
- Utilize Visual Aids: Sketch the measurements alongside notes and review the shims or trim piece features around the windows.
Performing these steps helps catch any discrepancies early on.
What to expect during professional measurement and installation services?
Hiring professionals often brings about additional considerations, such as:
- Process Overview: Professionals may conduct their measurements, ensuring adherence to the manufacturer’s specifications.
- Installation Procedures: It can include discussions about customization options and potential adjustments based on your initial measurements.
- Clear Communication: Articulating your preferences during the professional consultation can lead to a more personalized and accurate outcome.
Awareness of these aspects helps manage expectations throughout the measurement and installation journey, ensuring a smoother process.
Our Articles
Plantation Shutters in Port St. Lucie, FL: Custom Window Coverings
Port St. Lucie homes deserve professional quality plantation shutters that enhance style and functionality. Upgrade your living space with elegance today!
Shutter Pricing, Quotes & Financing
Shutter Pricing, Quotes & Financing in LS16: Complete Guide to Costs and Payment Options Understanding shutter pricing, quotes, and financing options can feel overwhelming for homeowners. However, having the right information can streamline the decision-making process and ensure you receive the best value for your investment. This comprehensive guide delves into the costs associated with…
Shutter Hardware and Accessory Guide
Complete Shutter Hardware and Accessory Guide: Installation, Adjustment, and Maintenance Tutorial Shutter hardware consists of various components that serve essential functions in the proper operation and longevity of shutter systems. Understanding the types of hardware available, from hinges to tracks, allows homeowners and builders to make informed decisions regarding installation and maintenance. This guide aims…